
Manual Configuration — QuickAPI_快快API网络商店
For environments where CC-Switch / Codex++ cannot be installed. Directly edit each tool's configuration file to integrate.
Prerequisites: Environment Setup
Most AI coding tools (Codex, Claude Code, OpenCode, MimoCode, etc.) are built on Node.js. If you come from a GNU/Linux background in a non-frontend field, you may need to set up the Node.js runtime environment first before installing these tools.
Step 1: Install Node.js
We recommend using nvm (Node Version Manager) to install Node.js on macOS and Linux. nvm allows you to easily switch between Node.js versions.
# Install nvm
curl -o- https://raw.githubusercontent.com/nvm-sh/nvm/v0.40.1/install.sh | bash

# Restart terminal, then install the latest LTS Node.js
nvm install --lts

# Verify installation
node -v
npm -v
On Windows, you can use nvm-winget (via winget) or fnm (Fast Node Manager).
# Option A: Install nvm-windows via winget
winget install CoreyButler.NVMforWindows

# Restart PowerShell, then install latest LTS
nvm install lts
nvm use lts

# Option B: Use fnm (faster, cross-platform)
winget install Schniz.fnm

# Restart PowerShell, then install latest LTS
fnm install --lts
fnm use lts

# Verify installation
node -v
npm -v
Step 2: Configure npm Mirror (China Acceleration)
If you are in mainland China, the default npm registry may be slow or unstable. Switch to a domestic mirror for faster installs:
# Set Taobao mirror (recommended for China users)
npm config set registry https://registry.npmmirror.com

# Verify configuration
npm config get registry
# Should output: https://registry.npmmirror.com/# If you need to restore the default registry later:
npm config set registry https://registry.npmjs.orgStep 3: Verify Environment
# Check Node.js version (should be v18+)
node -v

# Check npm version
npm -v

# Test npm connectivity
npm ping
💡 Node.js Version Requirement
Most AI coding tools require Node.js v18 or higher. If your version is below v18, please upgrade using nvm or download the latest LTS from nodejs.org.
Step 4: Install AI Coding Tools
Once Node.js is ready, install your desired AI coding tool globally:
# Codex (OpenAI)
npm install -g @openai/codex

# Claude Code (Anthropic)
npm install -g @anthropic-ai/claude-code

# OpenCode
npm install -g opencode-ai

# Hermes
npm install -g @hermes-ai/cli
⚠️ MimoCode Platform Differences
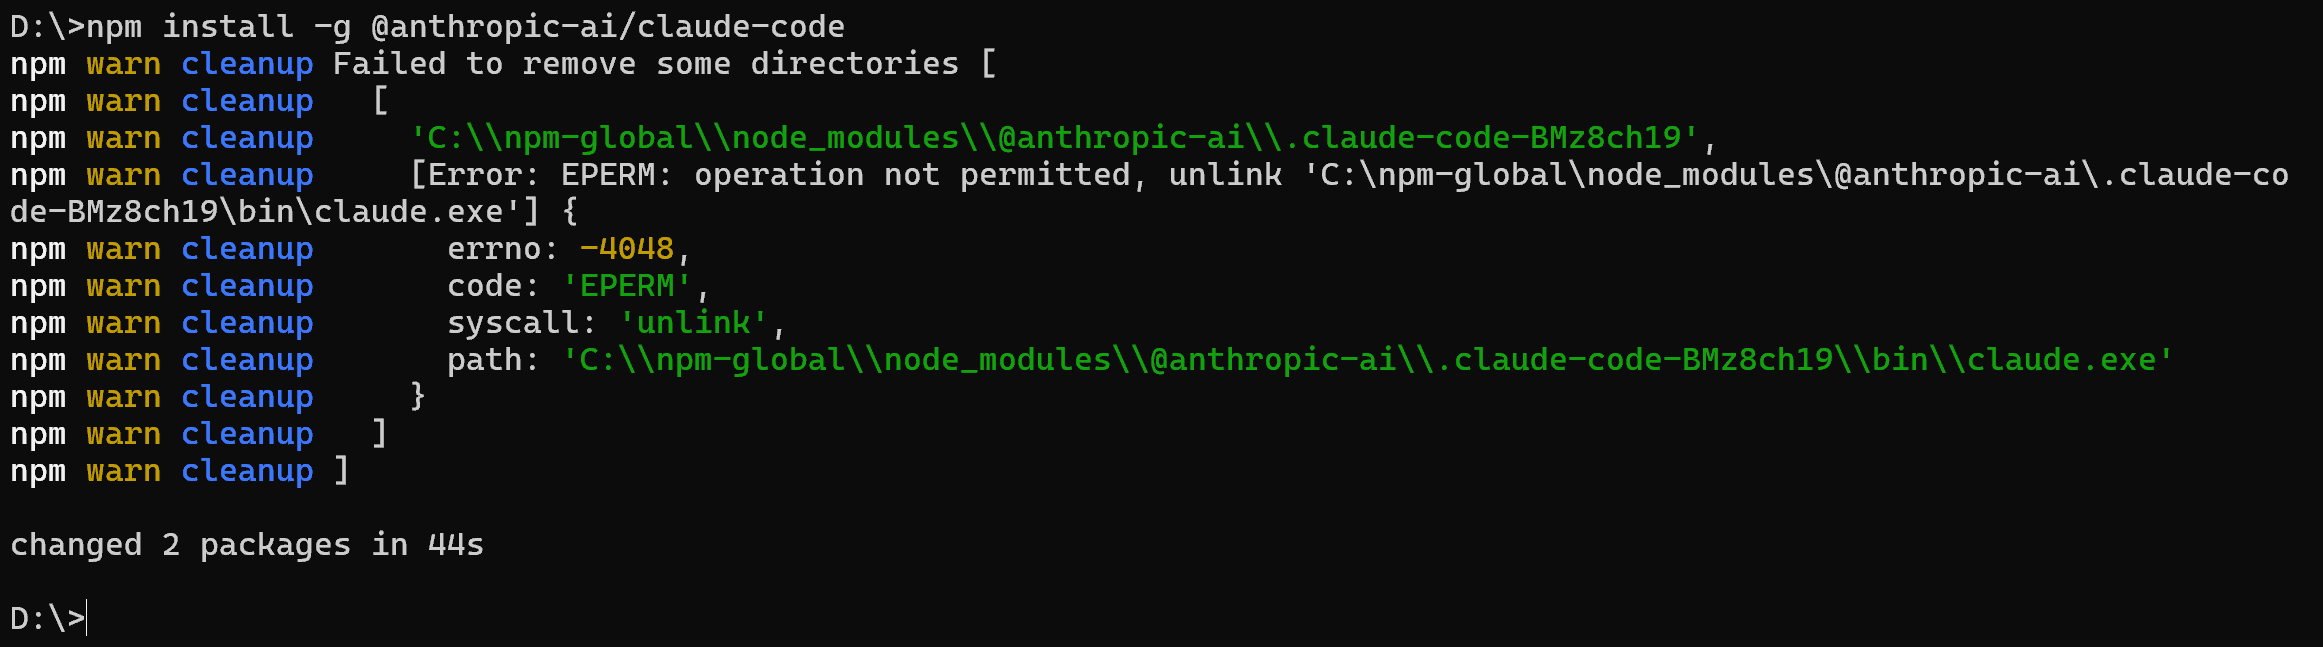
👆 When npm shows a package-added success message, the global CLI tool is installed and ready to launch from your terminal.
MimoCode requires platform-specific packages. Please use the correct command for your OS:
| Platform | Install Command |
|---|---|
| Windows | npm install -g @mimo-ai/cli @mimo-ai/mimocode-windows-x64 |
| GNU/Linux | npm install -g @mimo-ai/cli |
| macOS | npm install -g @mimo-ai/cli |
| Unix | Official Unix installation method is not documented. Please contact customer service at quickapi@lz-0315.com for support. |
CC-Switch Settings Reference
For reference, here is the CC-Switch configuration interface showing QuickAPI integration settings:
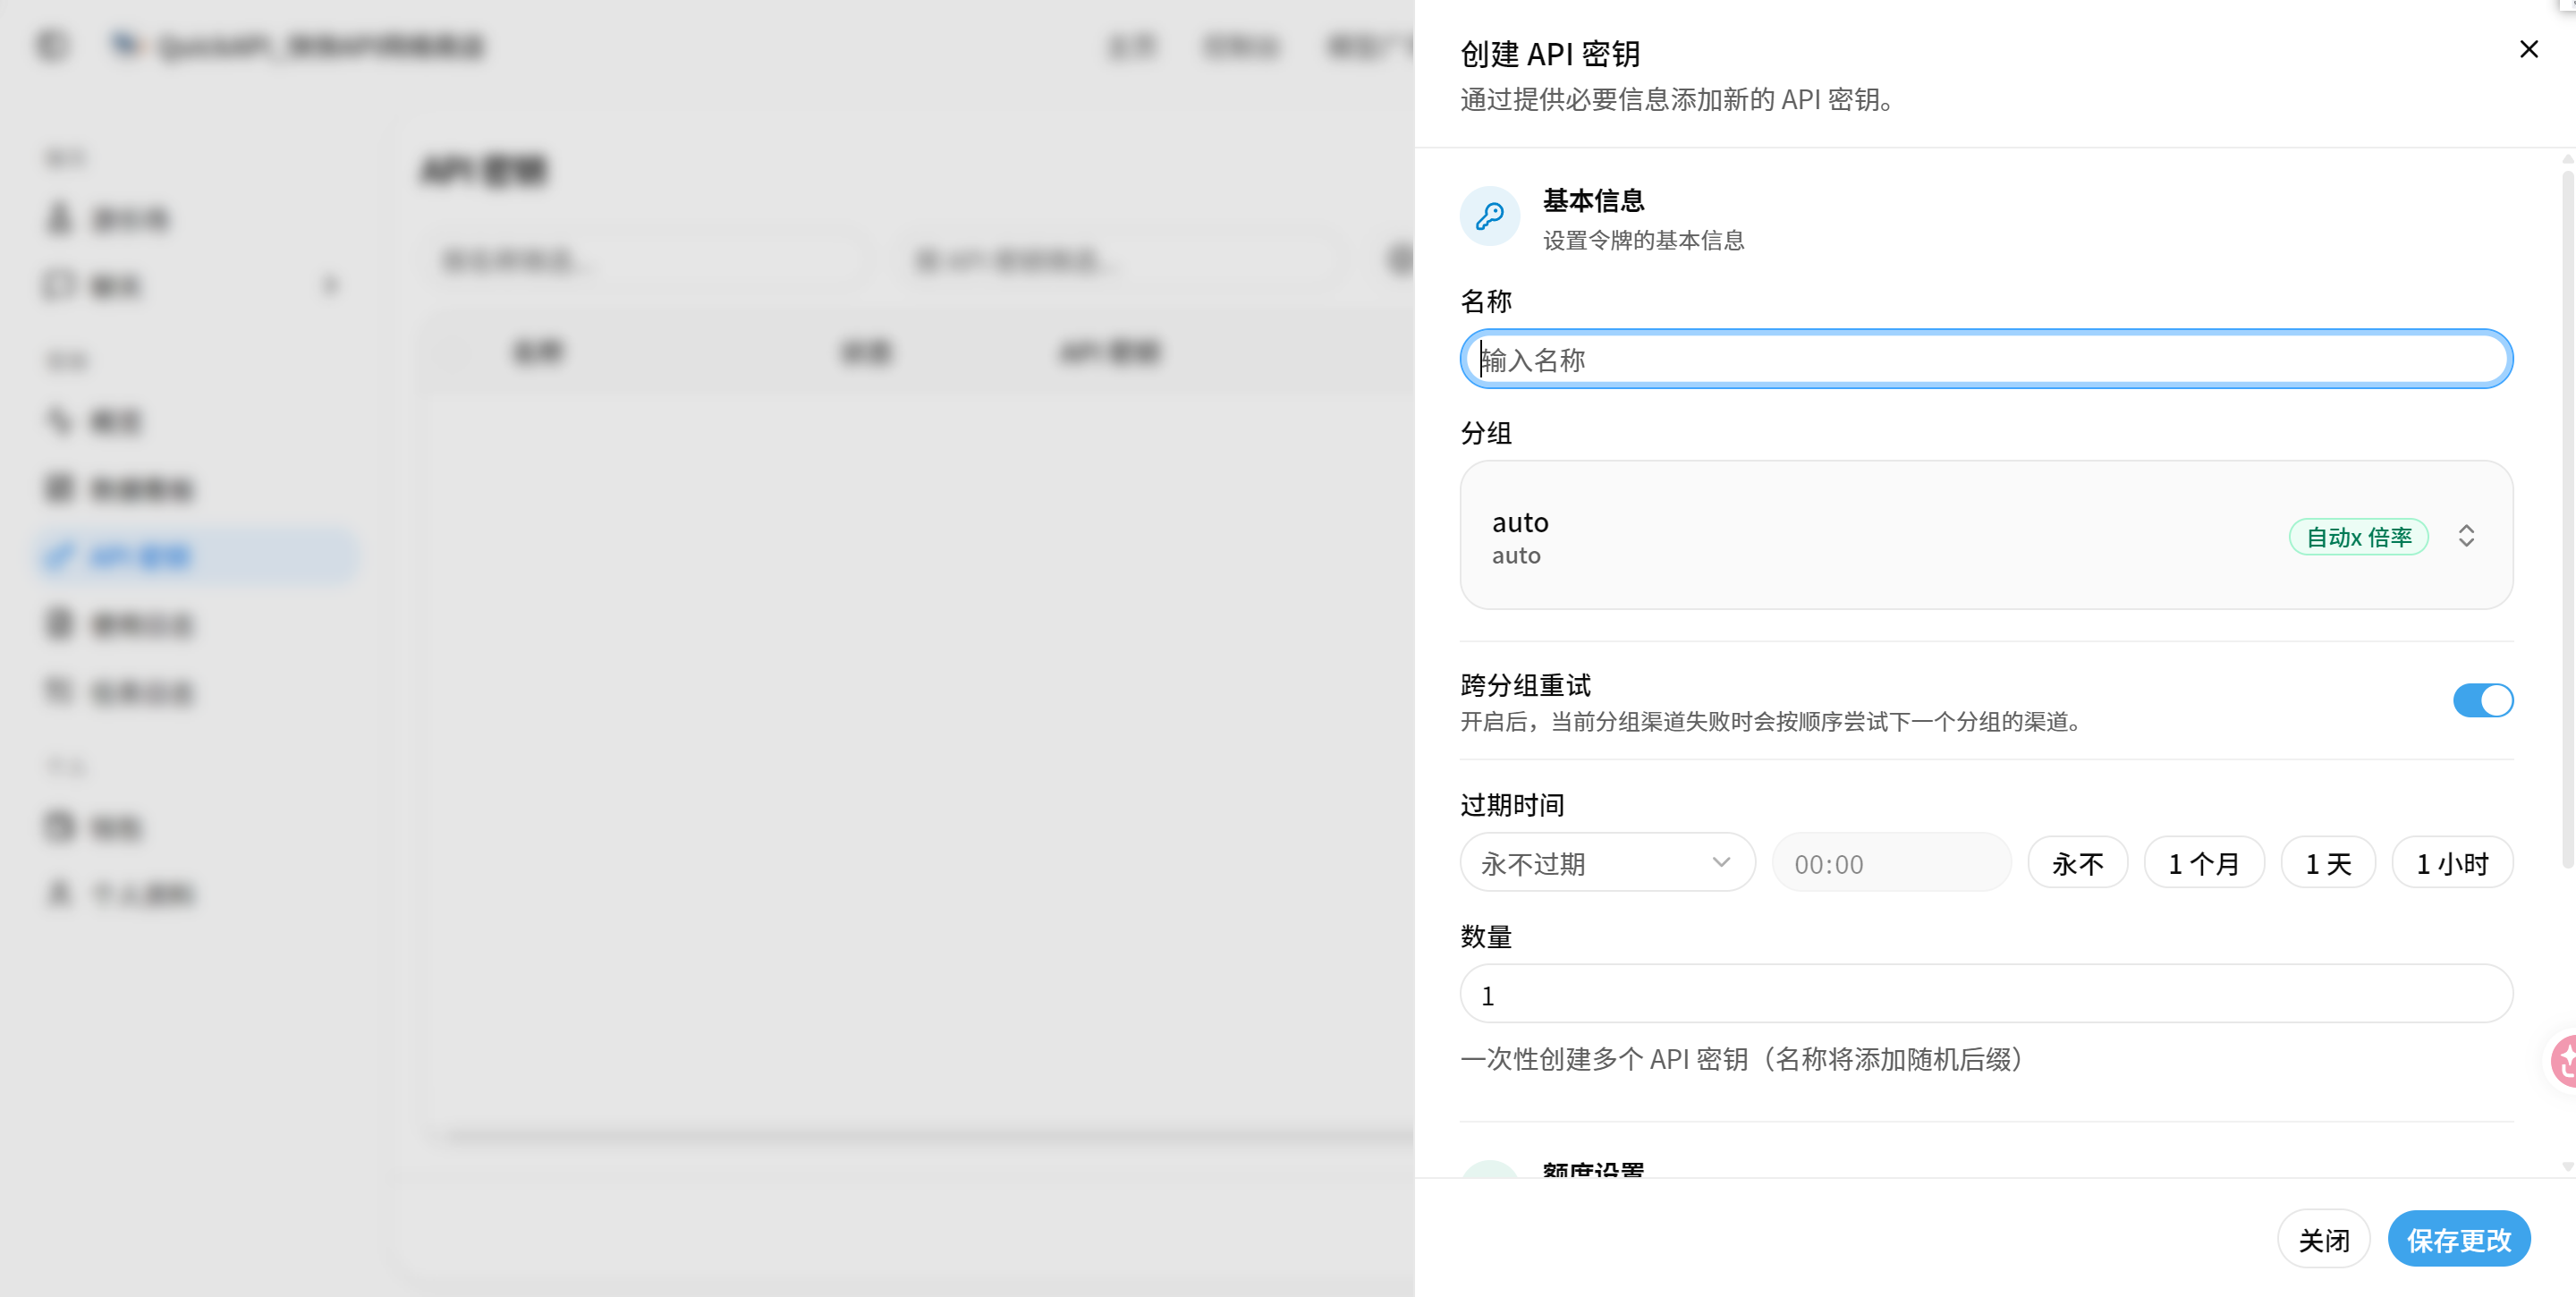
👆 This shows the CC-Switch settings panel with QuickAPI configuration (base_url, api_key, model selection).
Universal Configuration Parameters
These parameters are the same for all tools:
| Parameter | Value | Description |
|---|---|---|
| API Base URL | https://api.quickapi.store/v1 | Default access address |
| API Key | Your API Key | Get from console |
| Model Name | See Model Plaza | Real-time model list |
TUI vs APP Version
Some AI coding tools offer two versions with slightly different configuration:
| Version | Description | Installation | Use Case |
|---|---|---|---|
| TUI Version | Terminal UI, runs in command line | Install via npm/pip or download binary | Servers, WSL, remote development |
| APP Version | Desktop application with GUI | Download installer from official website | Local desktop environment |
If you're on a server or remote environment, use TUI version. For local desktop use, APP version offers better experience.
Codex Manual Configuration
TUI Version
Method 1: Environment Variables
# Linux / macOS
export OPENAI_BASE_URL="https://api.quickapi.store/v1"
export OPENAI_API_KEY="YOUR_API_KEY"

# Windows PowerShell
$env:OPENAI_BASE_URL="https://api.quickapi.store/v1"
$env:OPENAI_API_KEY="YOUR_API_KEY"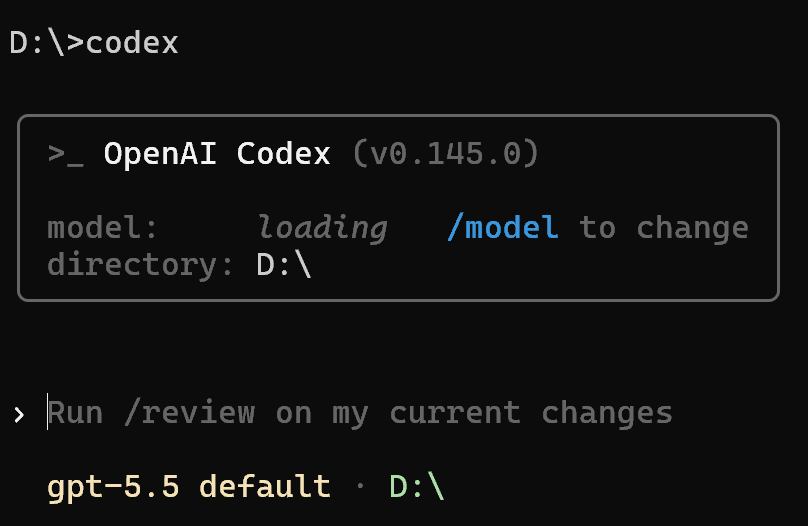
👆 After configuration, run
codexin your terminal. If the TUI opens normally, Codex is already connected to QuickAPI.
Method 2: Config File
Add to ~/.codex/config.toml:
[api]
base_url = "https://api.quickapi.store/v1"
key = "YOUR_API_KEY"
APP Version
Download from OpenAI official website, then configure in settings:
- Open Codex APP, go to Settings
- Find API Configuration or Custom Endpoint
- Enter:
- API Base URL:
https://api.quickapi.store/v1 - API Key:
YOUR_API_KEY
- API Base URL:
- Save and restart
Claude Code Manual Configuration
TUI Version
Environment Variables
# Linux / macOS
export ANTHROPIC_BASE_URL="https://api.quickapi.store/v1"
export ANTHROPIC_API_KEY="YOUR_API_KEY"

# Windows PowerShell
$env:ANTHROPIC_BASE_URL="https://api.quickapi.store/v1"
$env:ANTHROPIC_API_KEY="YOUR_API_KEY"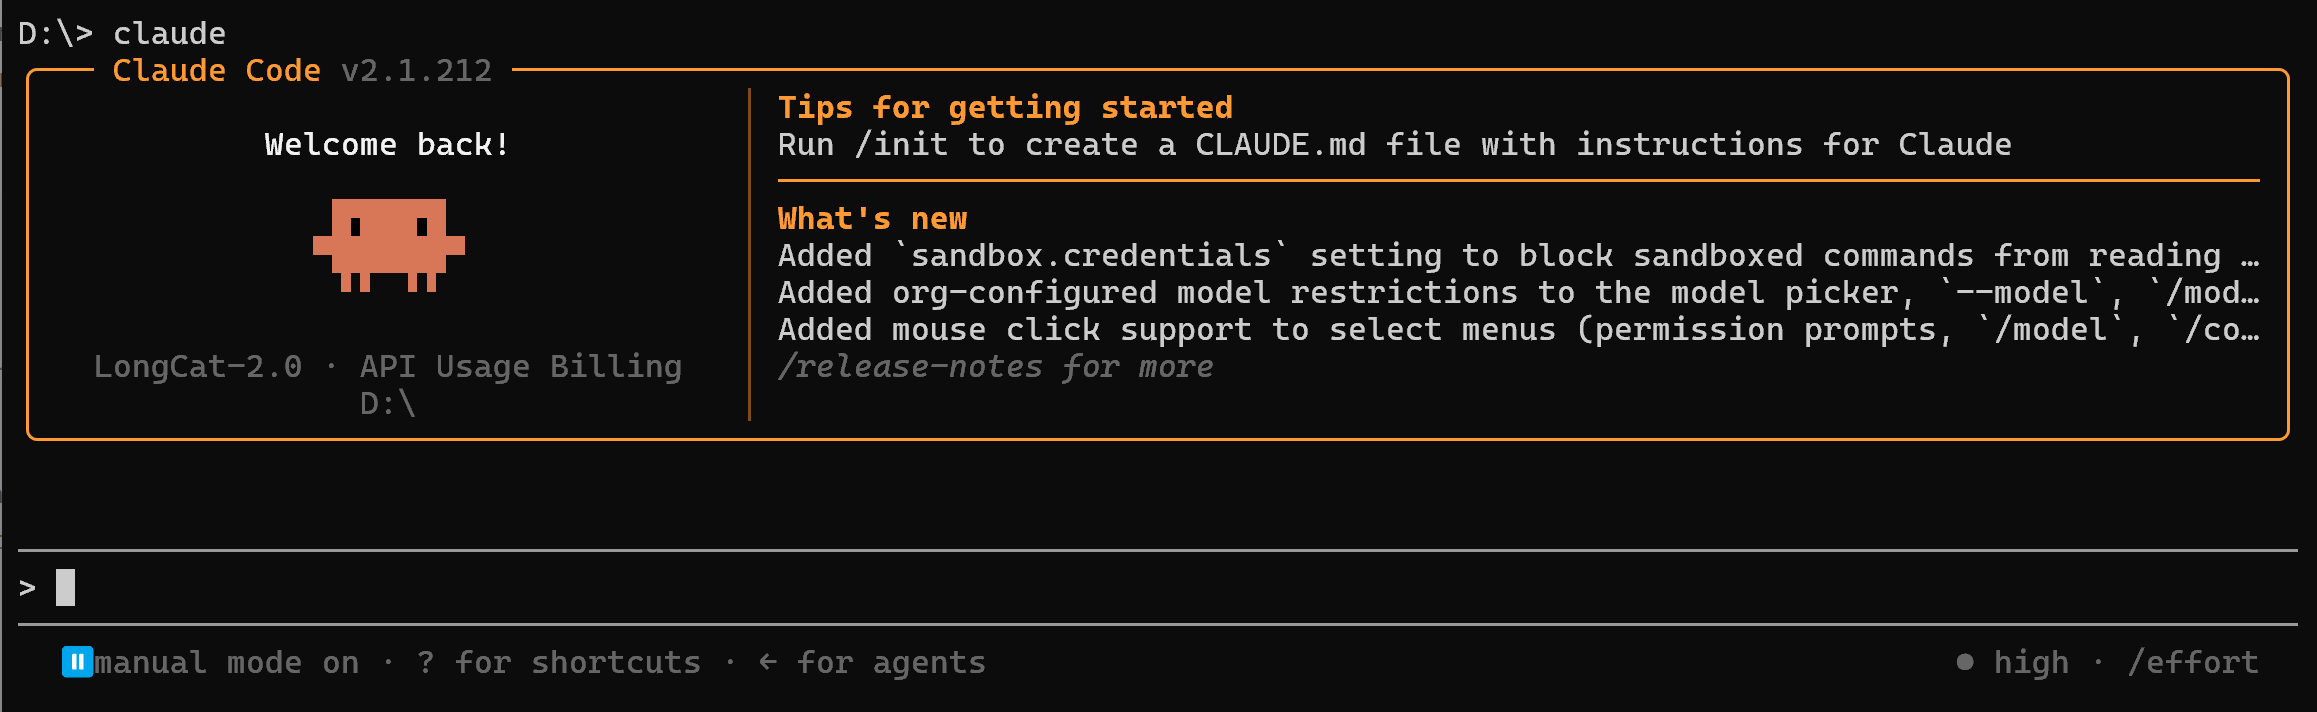
👆 Launch
claudeafter setting the environment variables. The terminal interface confirms that Claude Code is ready to use QuickAPI.
Config File
Add to ~/.claude/config.json:
{
  "apiUrl": "https://api.quickapi.store/v1",
  "apiKey": "YOUR_API_KEY"
}
APP Version
Download from Anthropic official website, then configure in settings:
- Open Claude Code APP, go to Settings
- Find API Configuration or Custom Endpoint
- Enter:
- API Base URL:
https://api.quickapi.store/v1 - API Key:
YOUR_API_KEY
- API Base URL:
- Save and restart
VSCode Extensions Manual Configuration
Continue
Add to VSCode settings (settings.json):
{
  "continue.openAiUrl": "https://api.quickapi.store/v1",
  "continue.apiKey": "YOUR_API_KEY",
  "continue.model": "gpt-4o-mini"
}
Codium
Add to VSCode settings:
{
  "codium.apiBaseUrl": "https://api.quickapi.store/v1",
  "codium.apiKey": "YOUR_API_KEY"
}
Roocode
Add to VSCode settings:
{
  "roocode.apiBaseUrl": "https://api.quickapi.store/v1",
  "roocode.apiKey": "YOUR_API_KEY",
  "roocode.model": "gpt-4o-mini"
}
VSCode Copilot (OpenAI Compatible Extension)
{
  "copilot.openai.apiBaseUrl": "https://api.quickapi.store/v1",
  "copilot.openai.apiKey": "YOUR_API_KEY",
  "copilot.openai.model": "gpt-4o-mini"
}
Hermes Manual Configuration
Environment Variables
export OPENAI_BASE_URL="https://api.quickapi.store/v1"
export OPENAI_API_KEY="YOUR_API_KEY"
Config File
Create or edit config.json in Hermes config directory:
{
  "api_base": "https://api.quickapi.store/v1",
  "api_key": "YOUR_API_KEY",
  "model": "gpt-4o-mini"
}
OpenClaw Manual Configuration
Environment Variables
export OPENAI_BASE_URL="https://api.quickapi.store/v1"
export OPENAI_API_KEY="YOUR_API_KEY"
Config File
Edit in OpenClaw config directory:
{
  "api": {
    "base_url": "https://api.quickapi.store/v1",
    "api_key": "YOUR_API_KEY"
  }
}
OpenCode Manual Configuration
TUI Version
Environment Variables
# Linux / macOS
export OPENAI_BASE_URL="https://api.quickapi.store/v1"
export OPENAI_API_KEY="YOUR_API_KEY"

# Windows PowerShell
$env:OPENAI_BASE_URL="https://api.quickapi.store/v1"
$env:OPENAI_API_KEY="YOUR_API_KEY"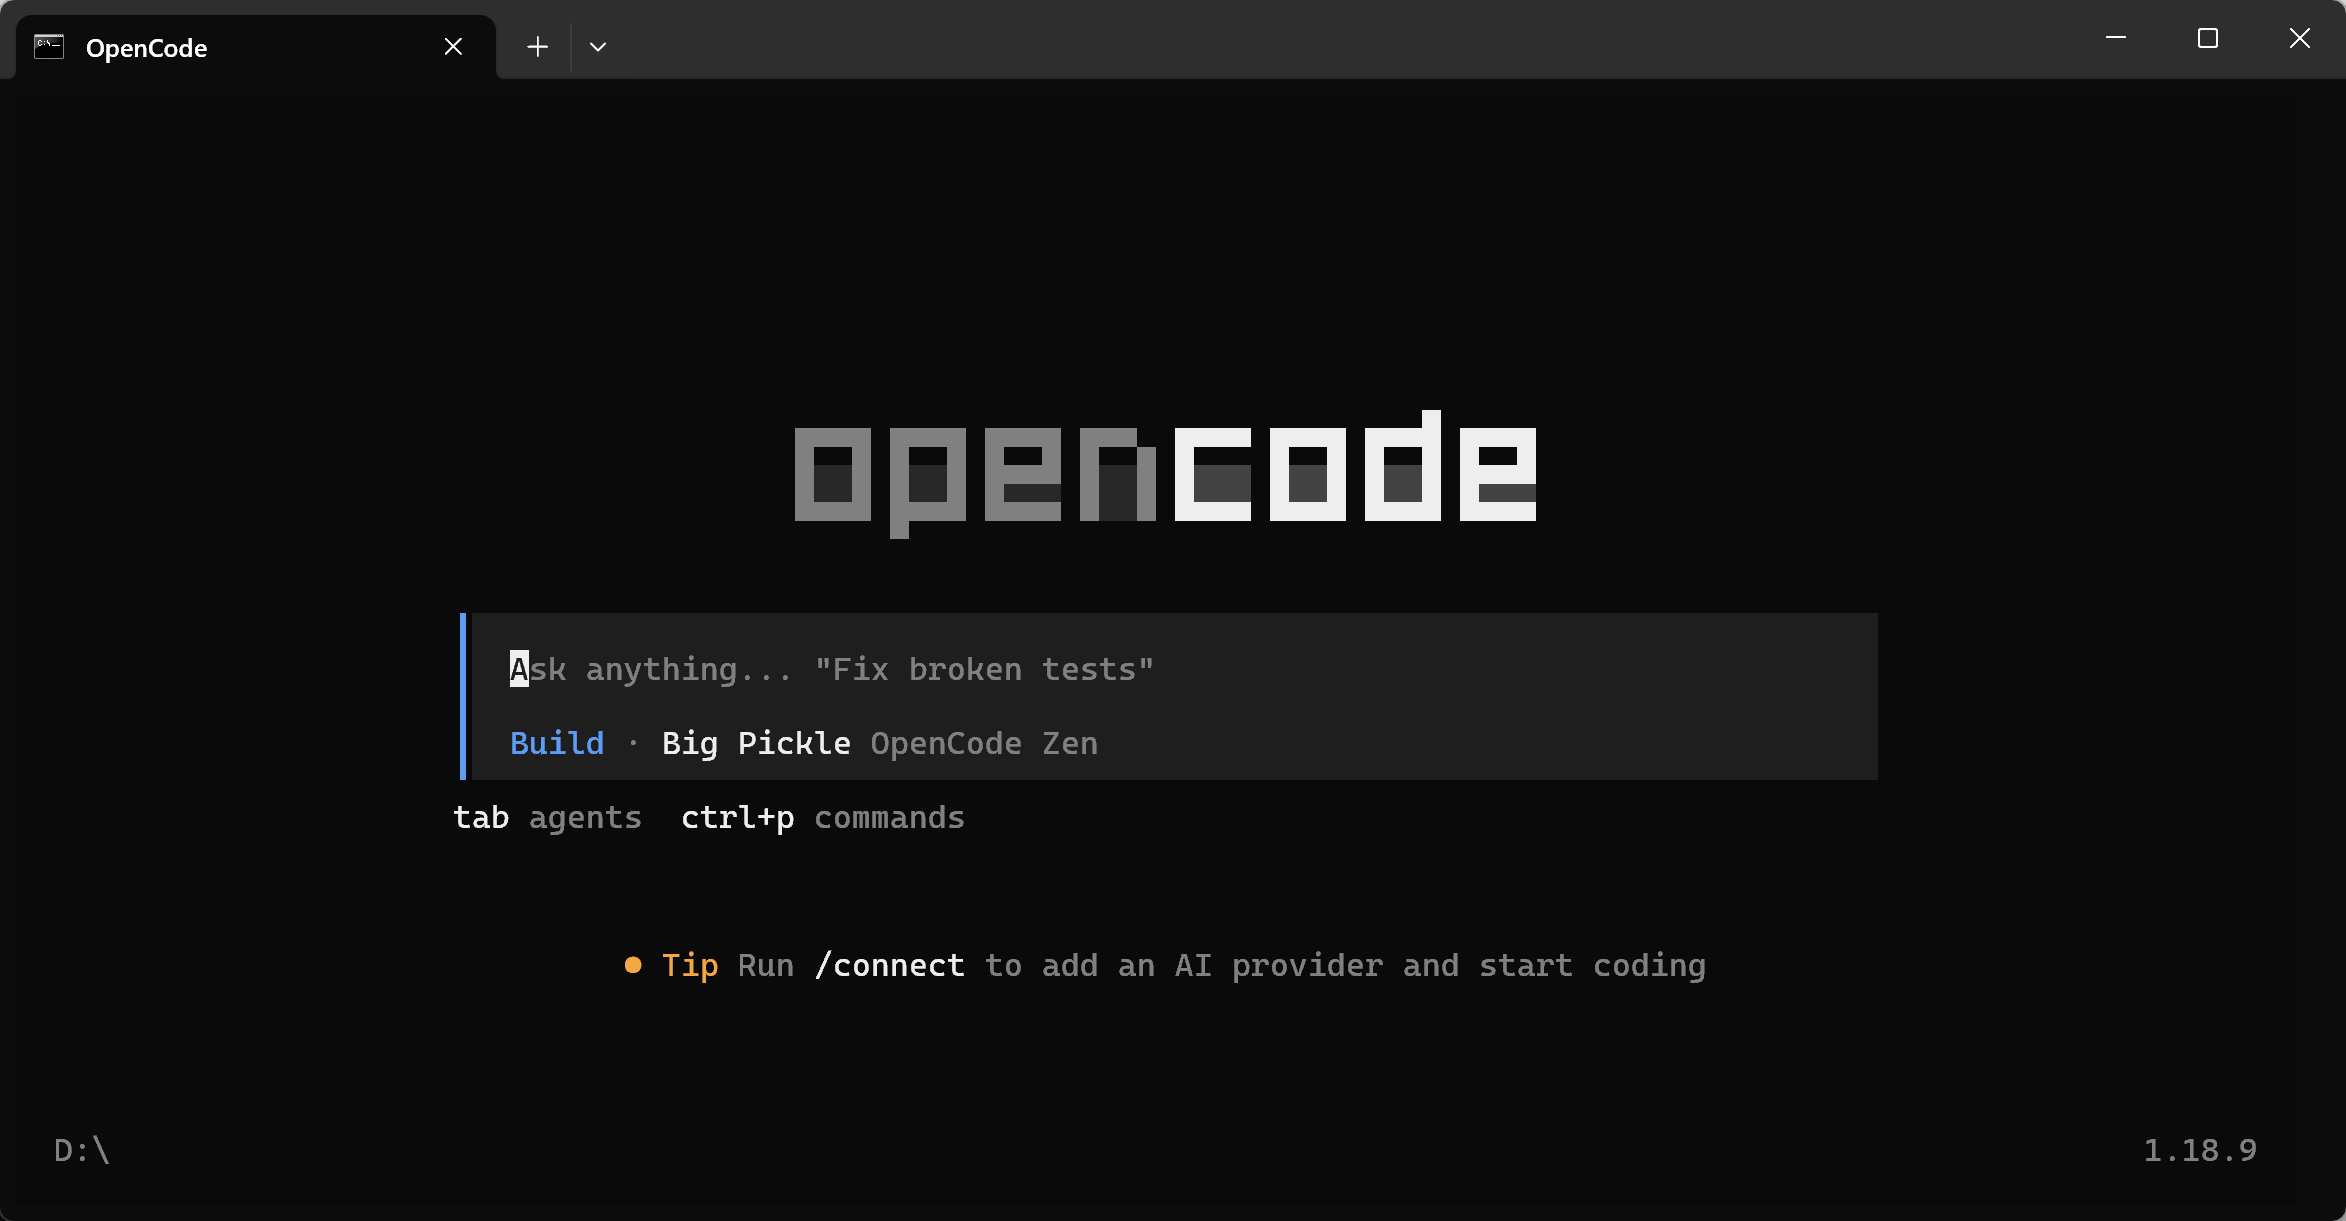
👆 Run
opencodeafter configuration. The TUI screen means OpenCode has picked up your QuickAPI endpoint and key.
Config File
Add to OpenCode config file:
{
  "api_base": "https://api.quickapi.store/v1",
  "api_key": "YOUR_API_KEY",
  "model": "gpt-4o-mini"
}
APP Version
Download from official website, then configure in settings:
- Open OpenCode APP, go to Settings
- Find API Configuration or Custom Endpoint
- Enter:
- API Base URL:
https://api.quickapi.store/v1 - API Key:
YOUR_API_KEY
- API Base URL:
- Save and restart
MimoCode Manual Configuration
⚠️ Platform-Specific Installation Required
Before configuring, ensure MimoCode is installed with the correct platform package:
| Platform | Install Command |
|---|---|
| Windows | npm install -g @mimo-ai/cli @mimo-ai/mimocode-windows-x64 |
| GNU/Linux | npm install -g @mimo-ai/cli |
| macOS | npm install -g @mimo-ai/cli |
| Unix | Official Unix installation method is not documented. Please contact quickapi@lz-0315.com for support. |
Environment Variables
# Linux / macOS
export OPENAI_BASE_URL="https://api.quickapi.store/v1"
export OPENAI_API_KEY="YOUR_API_KEY"

# Windows PowerShell
$env:OPENAI_BASE_URL="https://api.quickapi.store/v1"
$env:OPENAI_API_KEY="YOUR_API_KEY"
Config File
Add to MimoCode config file:
{
  "api_base": "https://api.quickapi.store/v1",
  "api_key": "YOUR_API_KEY",
  "model": "gpt-4o-mini"
}
Personal Security Settings (Access Token)
To query your account balance, you need an Access Token (not API Key). Find it in your Personal Security Settings:
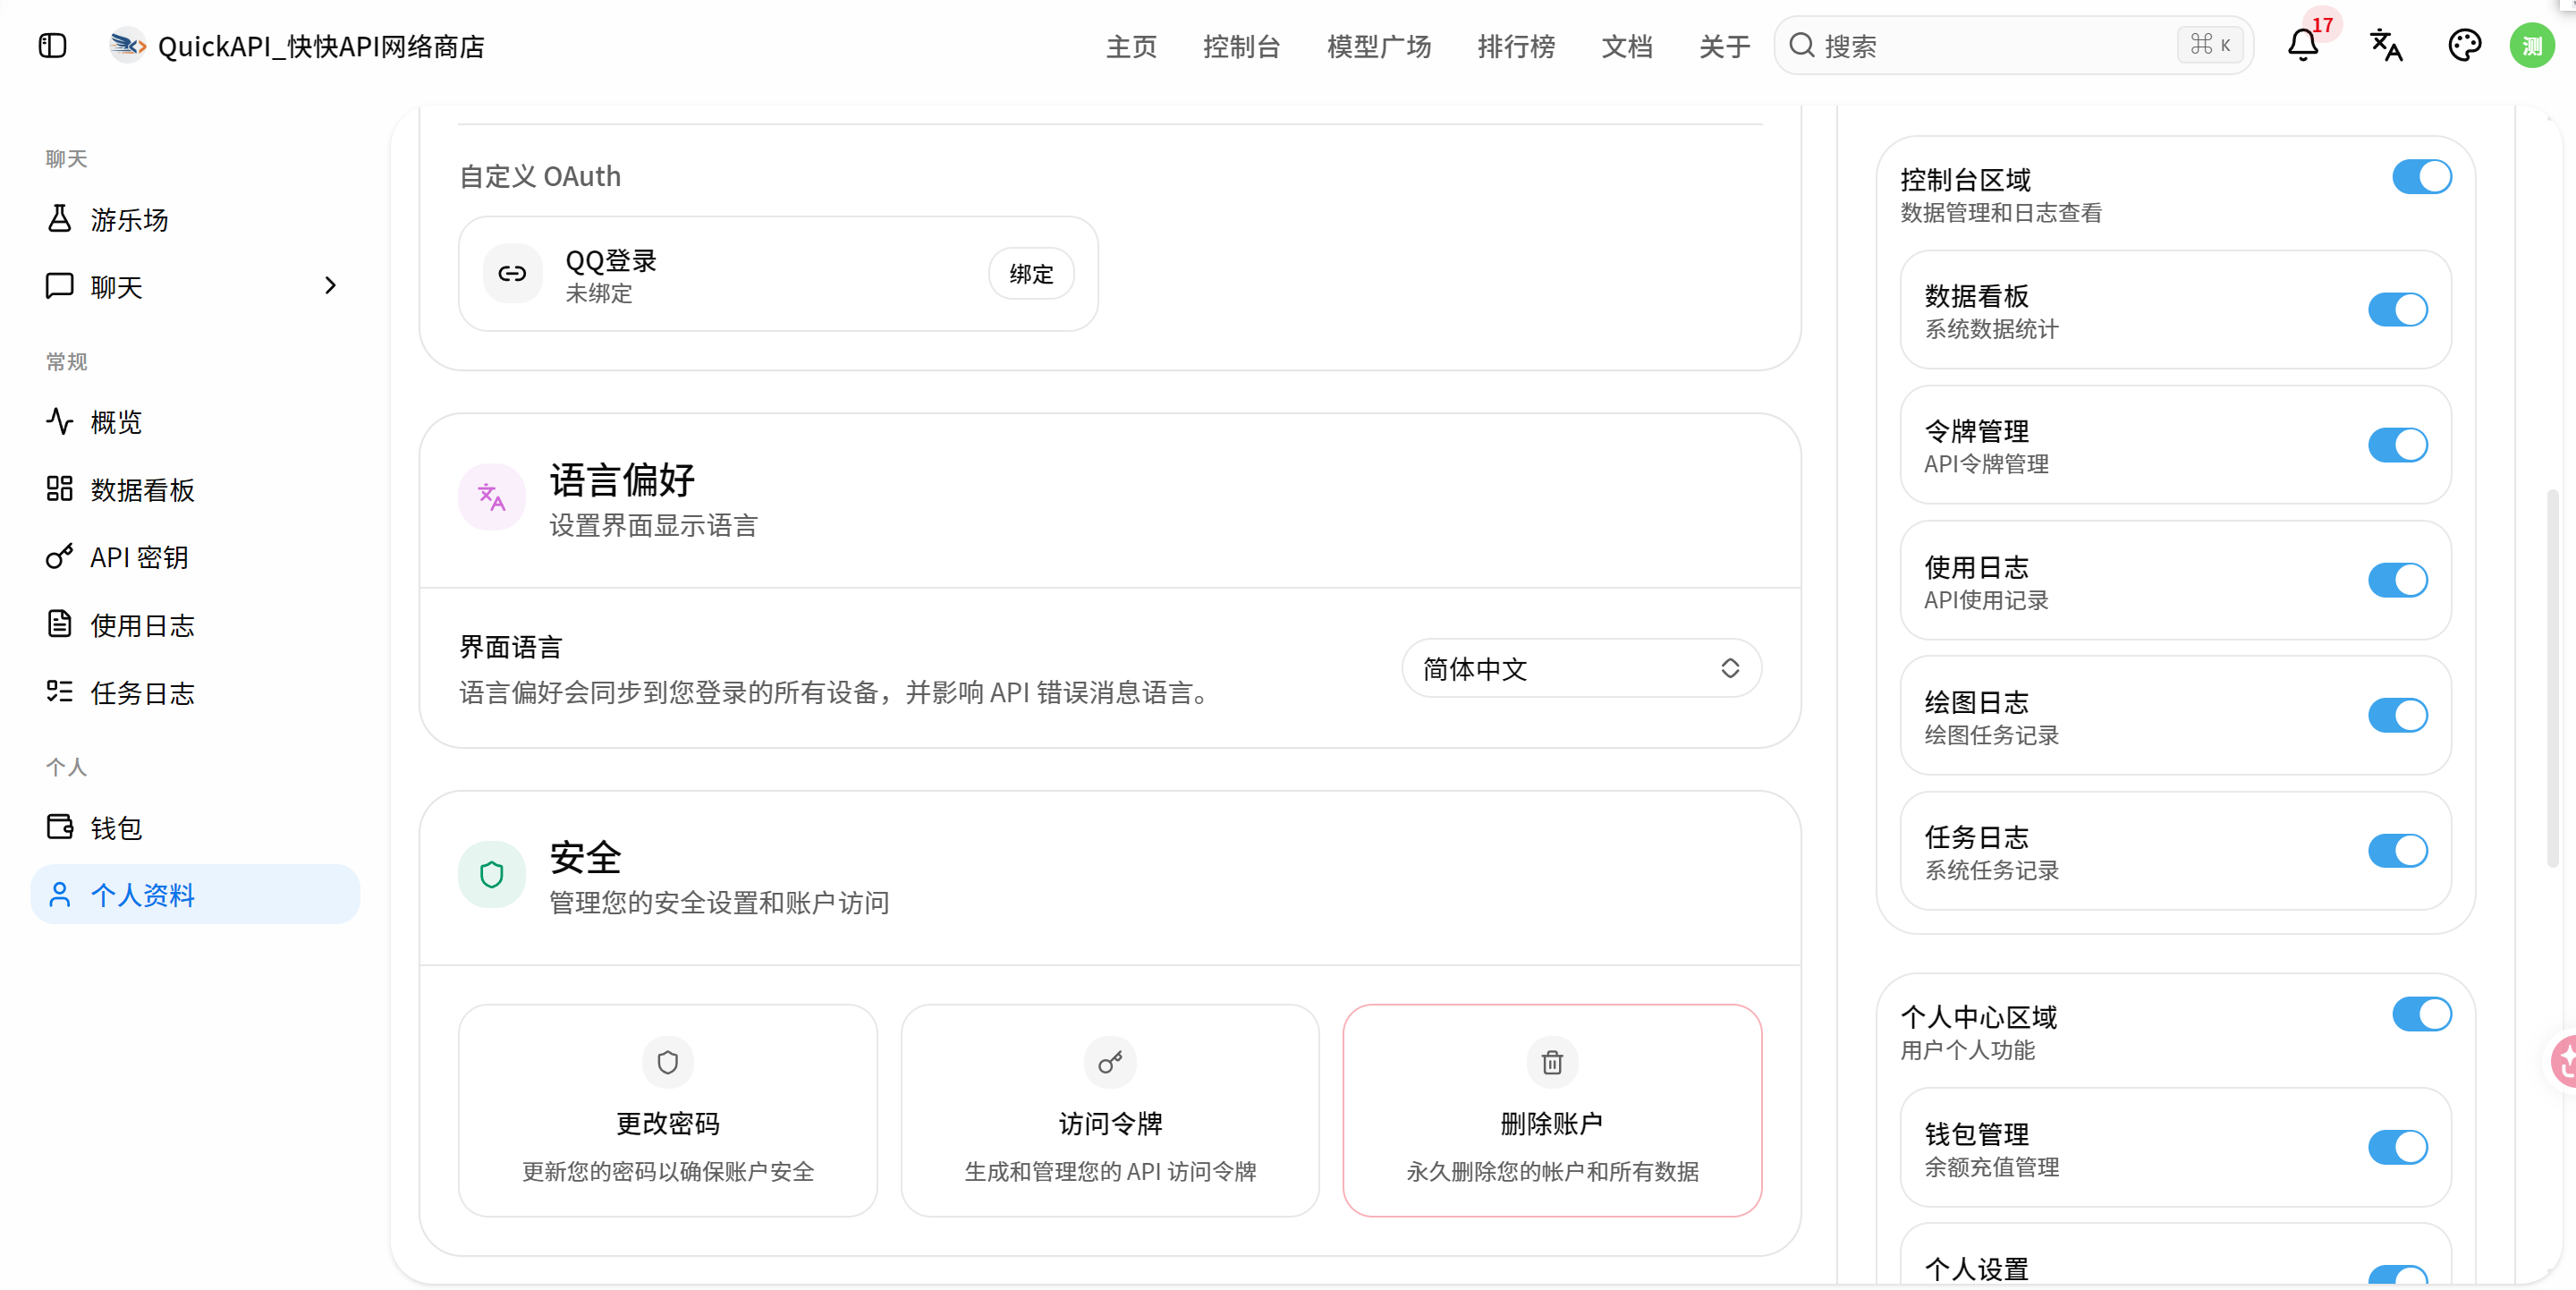
👆 Go to Personal Security Settings in the QuickAPI console to find your Access Token.
Access Node Selection
Choose the optimal node based on your network:
| Access Method | Base URL | Best For |
|---|---|---|
| Beijing Tencent Cloud → Alibaba Cloud ESA | https://api-bj.quickapi.store/v1 | North China |
| Direct to Alibaba Cloud ESA | https://api.quickapi.store/v1 | Default, nationwide |
| Hong Kong Cloudflare Tunnel | https://quickapi.lz-0315.com/v1 | Overseas |
| IX Direct Link | https://api-bj.lz-0315.com/v1 | Equivalent to direct connection to Beijing Tencent Cloud |
Verify Configuration
After configuration, verify with:
curl Test
curl https://api.quickapi.store/v1/models \
  -H "Authorization: Bearer YOUR_API_KEY"
If a model list is returned, configuration is successful.
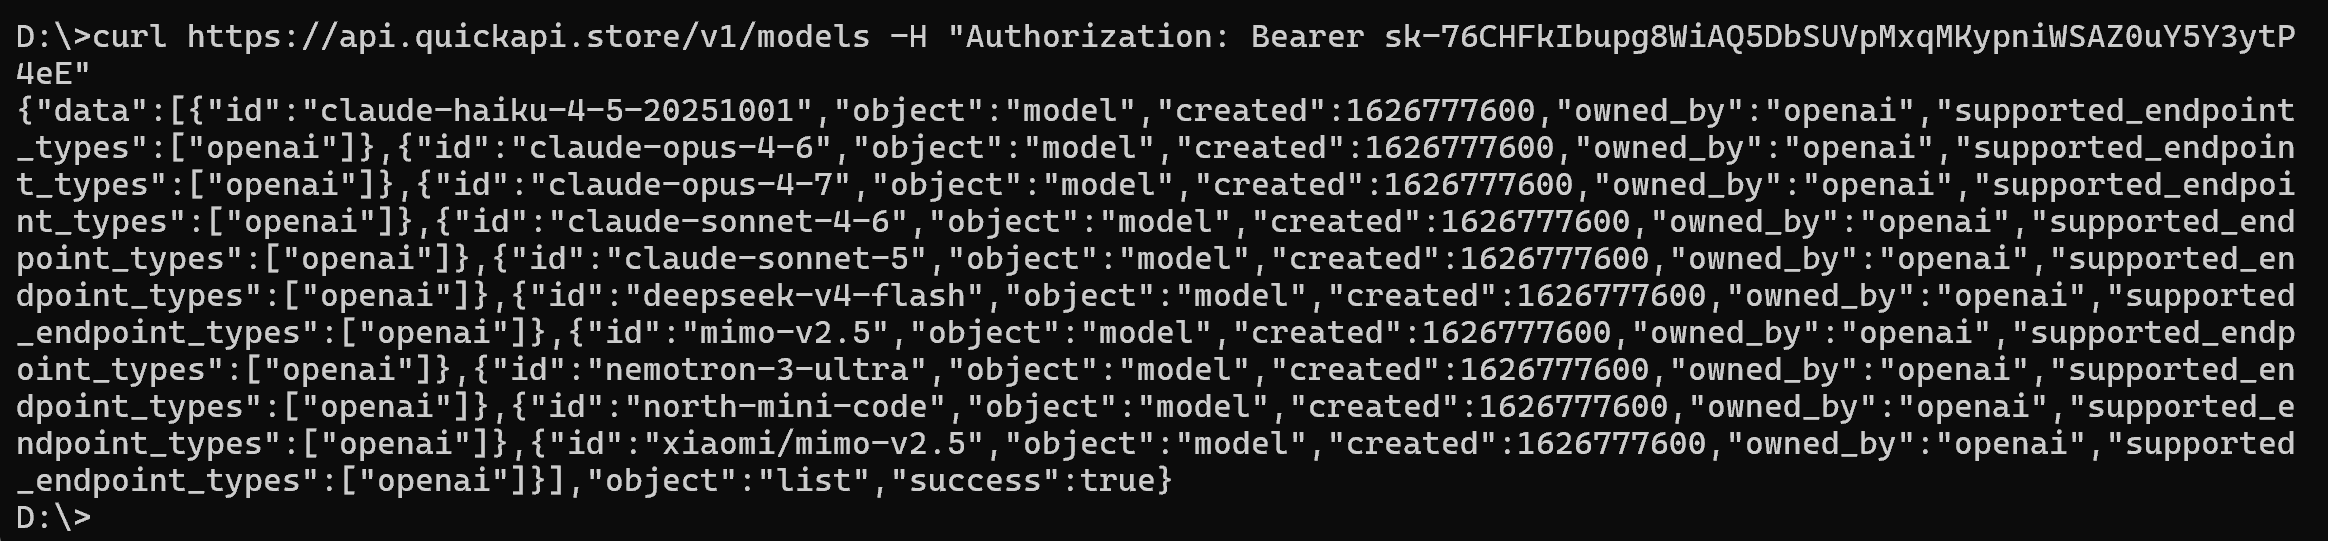
👆 A JSON model list response means the Base URL and API Key are both valid.
Python Test
from openai import OpenAI

client = OpenAI(
    base_url="https://api.quickapi.store/v1",
    api_key="YOUR_API_KEY"
)

response = client.chat.completions.create(
    model="gpt-4o-mini",
    messages=[{"role": "user", "content": "Hello"}]
)
print(response.choices[0].message.content)
FAQ
Q: What if I cannot connect after configuration?
A: Please check:
- Is the API Key correct?
- Is the Base URL complete (including
/v1)? - Is the network working? Try switching access nodes.
Q: How do I switch models?
A: Change the model name in the tool settings. Visit Model Plaza for supported models.
Q: Can multiple tools share one API Key?
A: Yes, all tools share the same API Key and quota.
Q: Which has higher priority, environment variables or config files?
A: Typically environment variables have higher priority than config files, depending on the tool's implementation.
Q: What's the difference between TUI and APP version configuration?
A: TUI version uses environment variables or config files. APP version uses the graphical settings page. The end result is the same.
Q: I'm a GNU/Linux user and can't install CC-Switch. What do I do?
A: Please follow this manual configuration guide. TUI tools (like Codex TUI, Claude Code TUI) run well on GNU/Linux and can be configured via environment variables.
Q: I'm not familiar with Node.js / npm. Do I need to learn them?
A: You only need basic commands. Follow the Prerequisites: Environment Setup section above — it walks you through installing Node.js, configuring the mirror, and installing tools with npm install -g. No deep Node.js knowledge is required.